Picture Fusion with little help of Photoshop, can easily make 2 pictures merged into one,
creating a totally different effect.. I'm sure there's many of you guys and girls who really want to learn it...
So let's see how this works..
First of all, install the
Photoshop Software (if you don't have it, download or buy it)
Then select a picture (or more) that you would like to
edit and open it with Photoshop.
In this case, I've selected a picture given by my dear friend, Corin ^_^ And the fusion that I'm going to do, can be done in less than 20 minutes (if you're used to it, roughly around 10 minutes should do the trick)

this is Corin, cute ei? ^_^
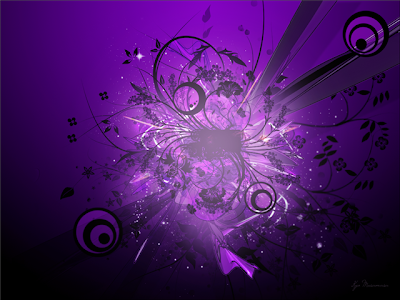
This is a background which I found..
Now I'm going to merge them to make this!
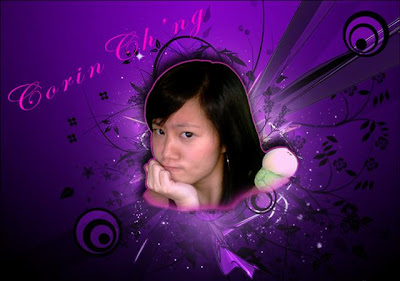 It's very simple
...
So Let's officially start it! (btw I'll be using Photoshop CS2 9.0)
1. Open the 1st picture with Photoshop
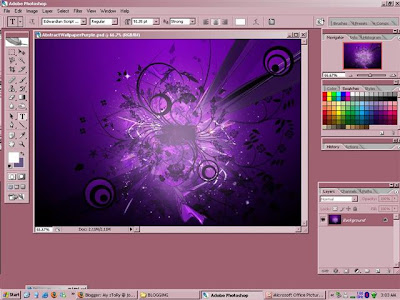
2. Open the second picture with photoshop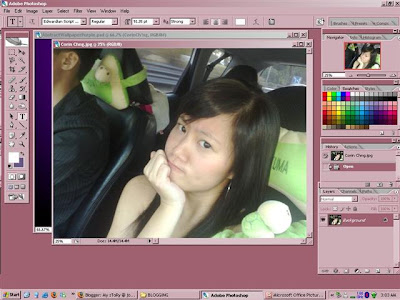 3. Drag the 2nd picture onto the first
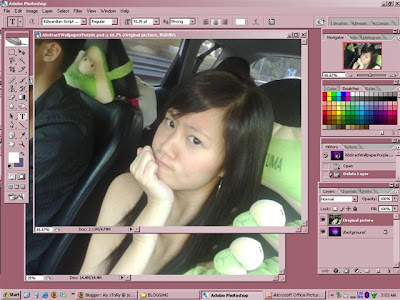 Notice there's another layer in the panel (bottom left)
4. Now, put on the Mask mode (or simply press 'Q')
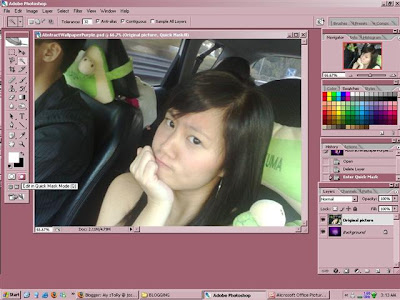 5. Use the Eraser (or press 'E')
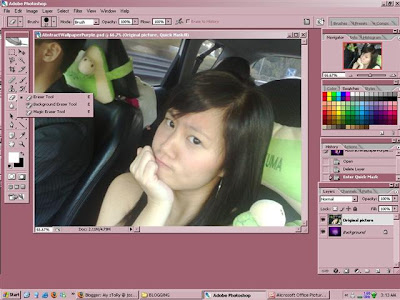 6. Erase the part that you want to highlight
7. Adjusting the size of Eraser according to the sides
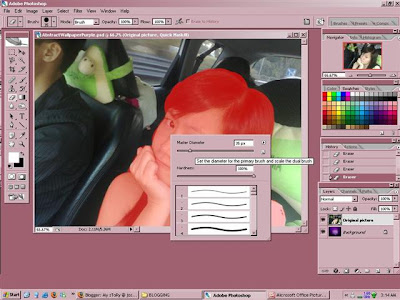 8. Exit the Mask mode, by click on the icon next to it
(or press 'Q' again)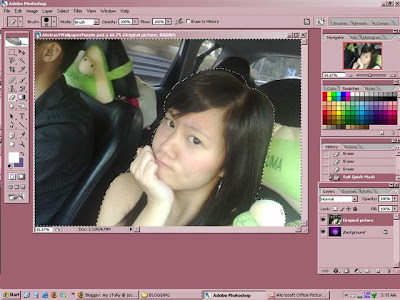 9. Select the Magic Wand (or press 'W')
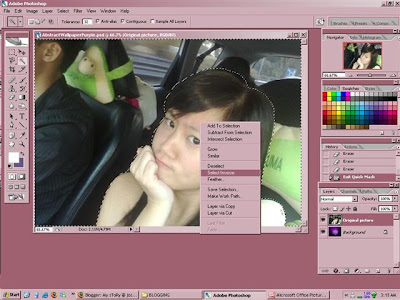
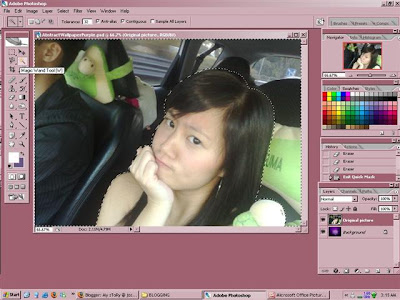 10. Right click on the picture and select Inverse
 11. Removing a part of the section using Line tool
(press 'U')
Note: don't worry about the color difference,
will explain it in a few steps. *winks*
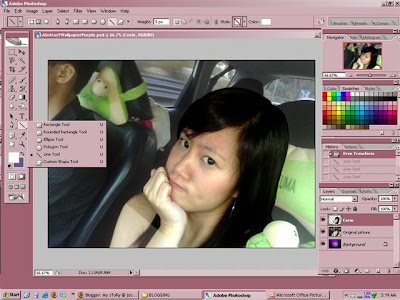 12. Create a shape you want based on what you want
to remove (in my case, a Triangle)
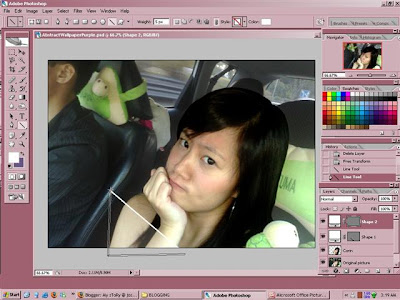 13. Merge the layers of Lines by selecting the 3 layers
from the panel, right click and select Merge Layers
14. Use Magic Wand (press 'W' again),
click the Triangle (inside) and delete
15. Once deleted, you may delete the Triangle
(right click on the merged layer and delete).
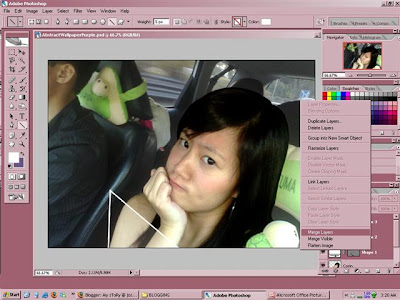 14. On the current picture, Copy (press CTRL+C),
and then paste (press CTRL+V).
You find another layer in the panel.
Now use Levels (press Ctrl+"L') and adjust the
brightest and contrast to your preference
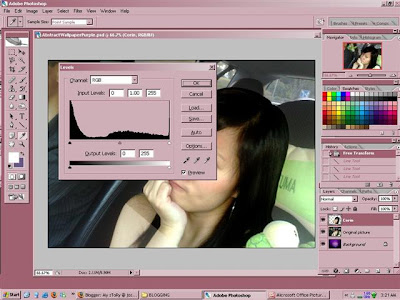 15. Use Free Transform (press Ctrl+'T') to
rotate and resize the picture as you want
16. When done, press Enter
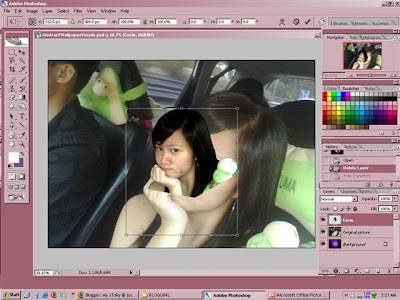 17. Now right click on the latest picture layer and
select Blending Option
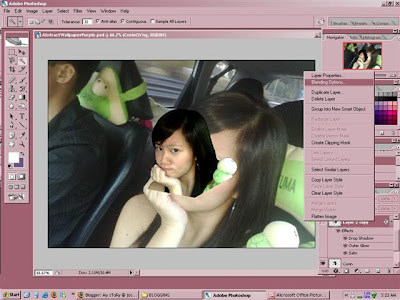 18. Select any effects you wish to have,
and adjust them according to your preference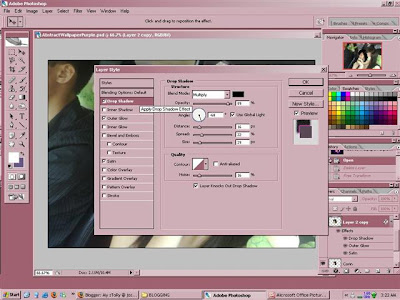 19. Once done, you should have something like below
(it's just a sample, yours might differ
depending on your choice)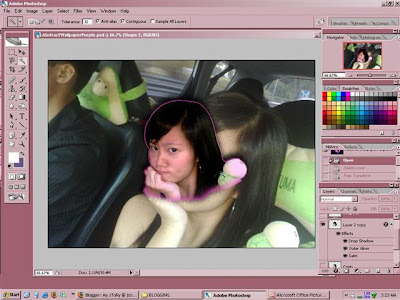 20. Alright, hide the current background,
by clicking on the Eye icon of that layer
(within the panel)
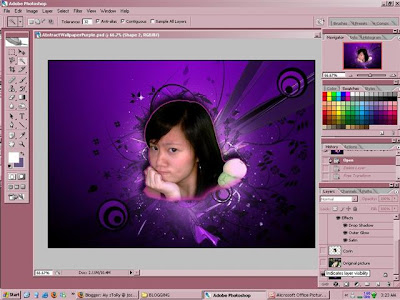 21. Now, select Text (or press 'T') to insert a Text
onto your picture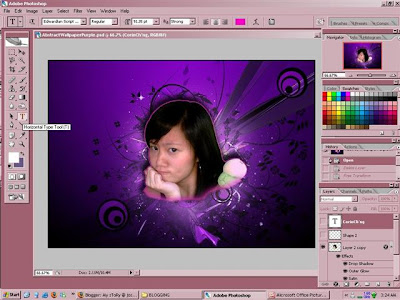
And there you have it.. A picture like this!
but wait it's not done yet.
A few more steps to go..
22. Save your work (press CTRL+'S') as PSD file
so that you can edit it in the future.
then Save your work as (press CTRL+SHIFT+'S')
as JPEG file so that you can view easily
and upload it to the net.
Now you're done.
Hehehe
I'm sure you guys would be able to edit pictures already!
Enjoy editing your pictures..
HAVE FUN!
CHEERIOS.... =P


